Copyright VirtualSim 2004-2020 - All rights reserved
Table
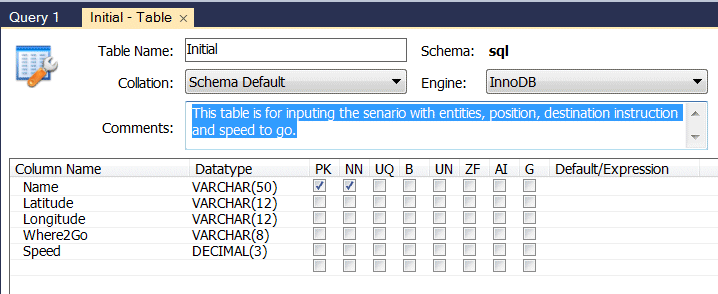
Schema tables in vsTASKER replicate the SQL tables in their structure and flags.
Open mode tables are loaded at simulation start while Create table are flushed to the server.
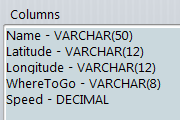
Here, the same Initial table in vsTASKER (above) and in Workbench (below) with the same columns and settings.
Create table are not stored in vsTASKER memory in default mode. vsTASKER will automatically create them in the server (if not already there) using a SQL command.
For the above table, the generated command will be as follow:
CREATE TABLE `sql`.`initial` (
`Name` VARCHAR(50) NOT NULL,
`Latitude` VARCHAR(12) NULL,
`Longitude` VARCHAR(12) NULL,
`Where2Go` VARCHAR(8) NULL,
`Speed` DECIMAL(3) NULL,
PRIMARY KEY (`Name`));
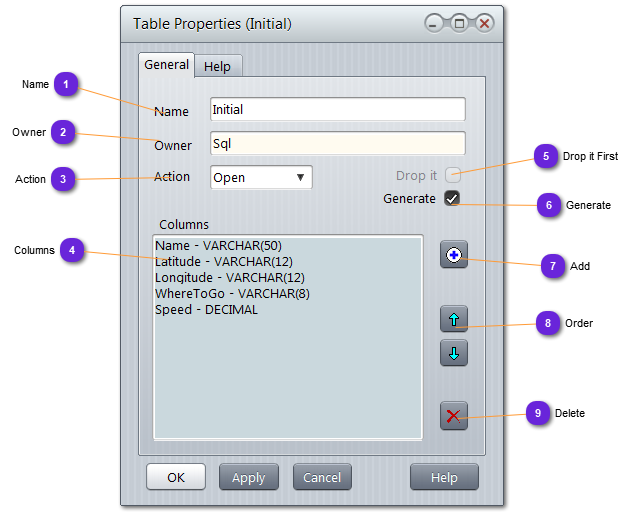
Name
Name of the table.
If SQL server option lower_case_table_name is set to 2, name is not case sensitive. If set to 1, name must be lowercase.
If checked, the table structure will be generated and the SQL table will be loaded as an array of the generated structure, will all the data queried from the server.
If unchecked, the SQL table will not be loaded and the user will have to do the query itself, using SQL commands (see Writing to Table here)