Although you could open a CIGI example and modify it, we will see here how to convert an existing database to enable the CIGI capability.
To create a new simulation using CIGI (and not making a current one CIGI compatible), the simplest way is to use a template.
Do the following:
Then select CIGI template:
Save then the database under the name you want (ie: test_cigi)
Now, let's check the CIGI configuration.
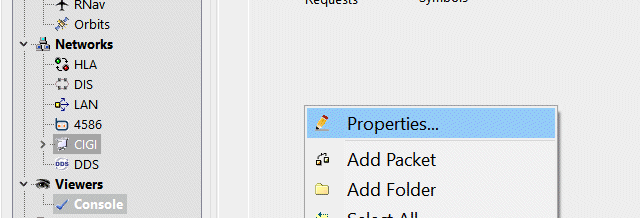
Go to and right click to select Properties:
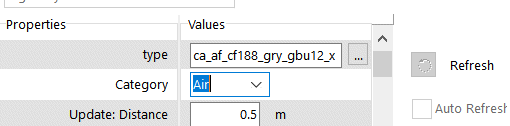
You will get this window:
Select the network your IG is using. Refer to its documentation.
The terrain to use is selected from a list defined in a
.def file. Refer to this chapter for
definition files.
For ie, open the terrains.def file in /Runtime/CIGI/Settings/OSG, then select the one to be used with CIGI. vsTASKER will send the initialization message to the IG with the corresponding ID.
You can (and must) define your own terrains.def file with the list of pairs to display in the drop down menu.
First thing is to check that so far, the Host and IG can connect.
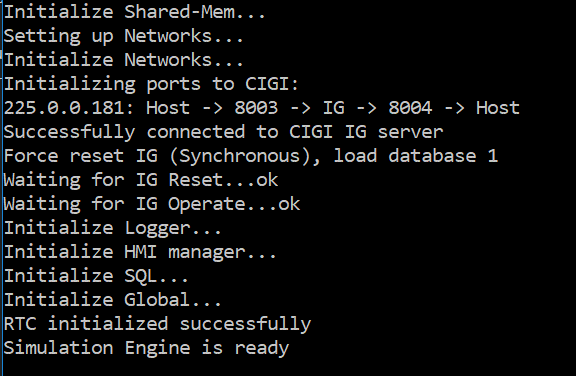
Recompile and run the SIM. You should obtain this output:
|
|
You can use VisualStudio to compile the simulation engine. Use the proper solution in /Runtime/CIGI and include the test_cigi_code.cpp and test_cigi_intf.cpp files from /Gen (if you used test_cigi to name the database of this example).
|
Now, open the terrain corresponding to the one in the IG (or set the same coordinates in vsTASKER) and add a Tank. Drop on the map a default entity then name it myTank.
Select the entity (myTank) then select and right-click to import the component:
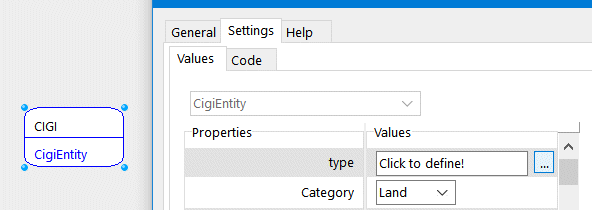
Double click the imported component and set the model type:
The entity types are defined into a specific file which pairs the id with the name. Refer to this chapter for
definition files. Click on then open the
entities.def file which does that.
You can (and must) define your own entities.def file with the list of (id=name) pairs to fill the drop down menu.
The IG must have the same ID for the selected 3D model type. You have to insure the matching is correct.
Once this is done, recompile and run.
The entity myTank should be created in the IG with the 3D model you choose.
Select it on the map and the camera should move and focus on it.
-
Enabling CIGI on an existing database
If you want to make an existing non-CIGI simulation database able to use the CIGI protocol, you must follow the below procedure:
1- Open the database
2- Select , then right click for (or double click the Display background)
3- On the CIGI Property window, click , then in the folder CIGI, select default (or Vbs-ig if you want to use this IG)
The Display panel should be as below:
4- Open again the CIGI Property window and set the following:
-
IP address for the network
-
-
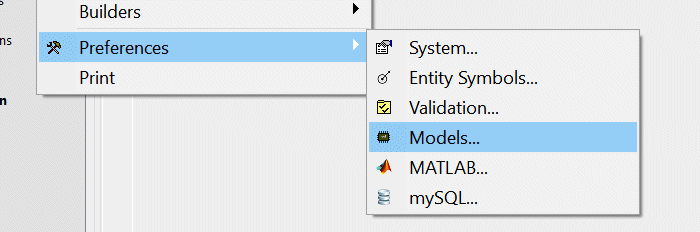
5- We may need to add the CIGI Model package to vsTASKER is not already added.
Select menu
On the Model Configuration window, select tab
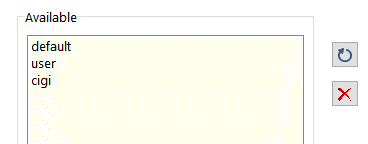
If
Cigi is not visible in the list, click on the open file icon

then select file:
cigi_dm.lst (should be in
/Models) and click on

The window should now list all packages + CIGI
6- Select
and in the area, right click to a new . Name it CIGI.
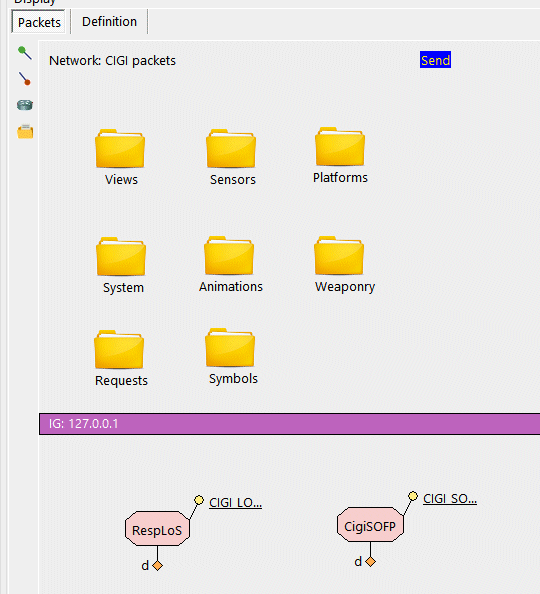
Now double click the icon to open it.
On the Display background, right click and select
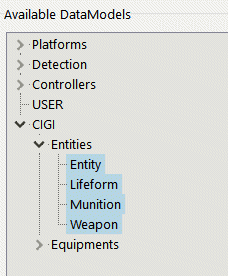
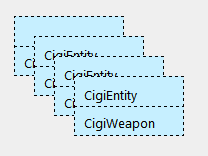
In the Importer window, expand the CIGI list (if you do not have it, go back to 5) and select Entity, Lifeform, Munition and Weapon Data Models (use Ctrl key for multiple selection)
Then button
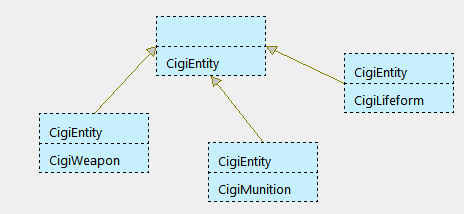
You can reorganize the icons
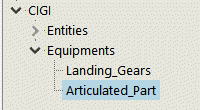
After that, import the Articulated Part Data Model
7- Now select your entities and in their Models panel, add the CigiEntity component:
Open (double click) the Component Model and set the 3D model based on a configuration file according to your IG:
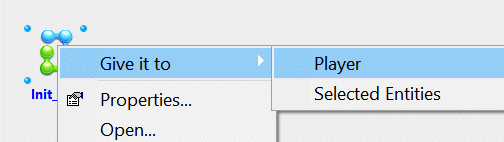
8- Finally, import the Cigi_Init logic. Select , then right click and
In the File selection dialog, open CIGI (in /Shared) and select Init_CIGI.lgk
Click on the logic icon, right click and give it to Player
9- Recompile and run the simulation.
You should get the following output console. Make sure that you have ok for IG Reset and Operate: