In this chapter, we are going to see how to extract a SVG map from VBS-IG and import it into vsTASKER.
VBS-IG (like VBS) can only export a map (full or partial) as an SVG or PDF format.
The PDF is useless for us.
The SVG can be used as vsTASKER provides an SVG importer and converter (see the User Manual for more information).
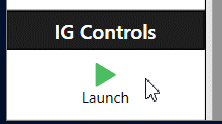
Start VBS-IG from the Studio:
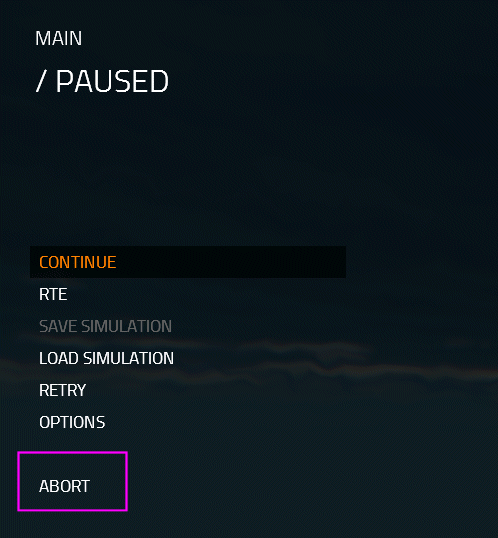
In the IG, press ESC, then, in the following menu, select ABORT:
Then from the Debriefing page, select CONTINUE:
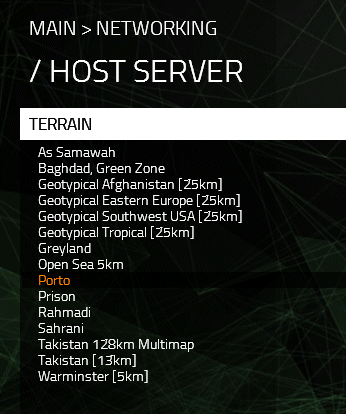
And once in the Terrain selected, chose Porto (for our example), then START:
Now, you are in the VBS editor.
Unfortunately, VBS programmers never thought someone would be interested in getting the coordinates below the cursor. Coordinates are displayed in a useless format, but forget about having the Lat/Lon/Alt coordinates copied into the clipboard, from a right-click menu. This exists only on vsTASKER so far.
So, we need to process the ugly way: by creating two objects to materialize the bottom-left and top-right corners of our area of interest. This is mandatory to get later the Lat/Lon coordinates as they will be requested by the map extractor.
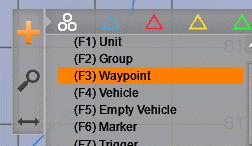
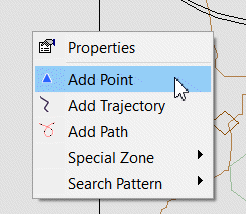
Let's select Waypoint:
and add the two waypoints at the corners of the area we want to extract:
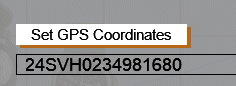
Now double-click each waypoint and select Set GPS Coordinates from the Object Property Window
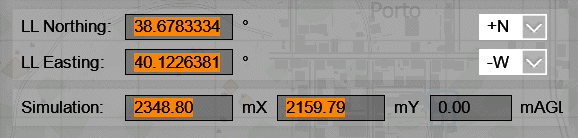
From the next window, write down the two decimal Lat/Lon (do not forget the sign, -W = -40) and the simulation coordinates (always useful although we don't need it for now).
Do that for the two corners.
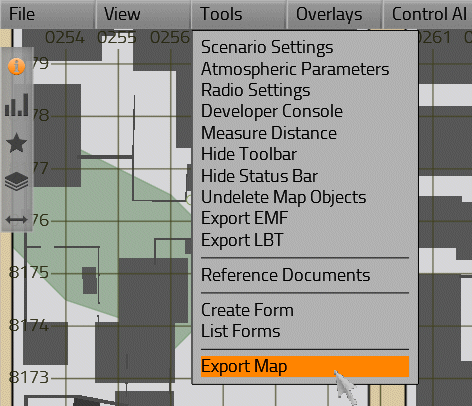
Now, in the menu, select :
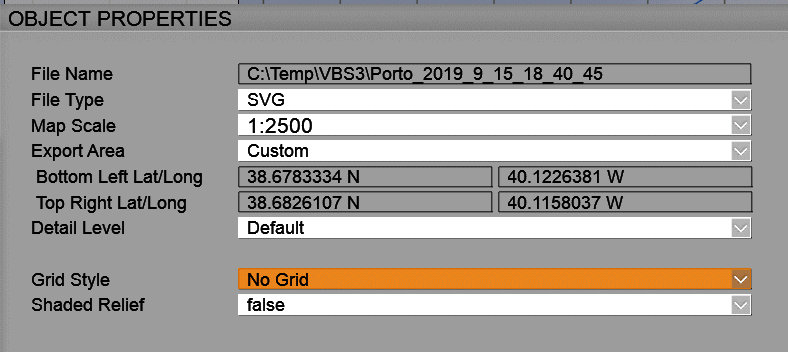
Then, in the extractor window, setup the fields like below (do not forget to paste the coordinates of your corners). The higher the scale the better. Detail level is up to you.
Then press OK.
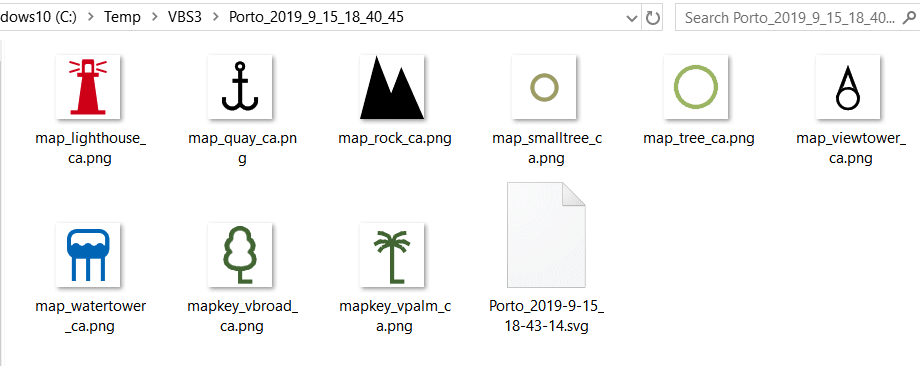
Now, you have your svg file in C:\Temp\VBS3:
If you open it (in a text editor) you will notice that the coordinates in Lat Lon are lost. You have only the simulation coordinates mentioned:
|
<svg width="24.011cm" height="18.6957cm" viewBox="2348.8 2159.8 600.276 467.392"
|
-
Importing the SVG into vsTASKER
Now that the SVG raw file is exported, we will import it into vsTASKER and, most importantly, put the map at the correct position so that there will be no discrepancies during the simulation.
As we are going to use CIGI, simulation coordinates will be of no use. We need to position the map at the correct Lat Lon coordinates.
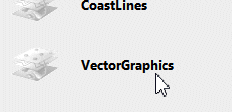
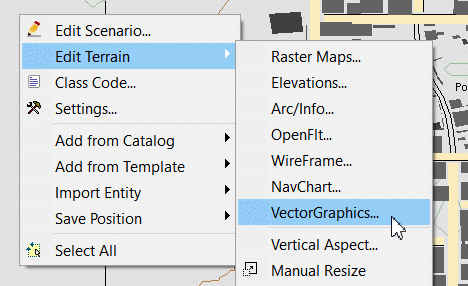
In , select VectorGraphics Layer:
Then load the exported SVG file from C:\Temp: (do not forget to change the filter type from vgm to svg)
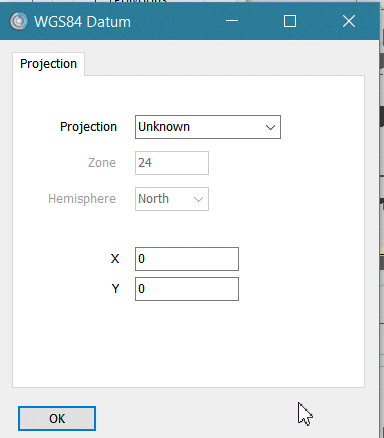
Then click

and leave the projection as Unknown:
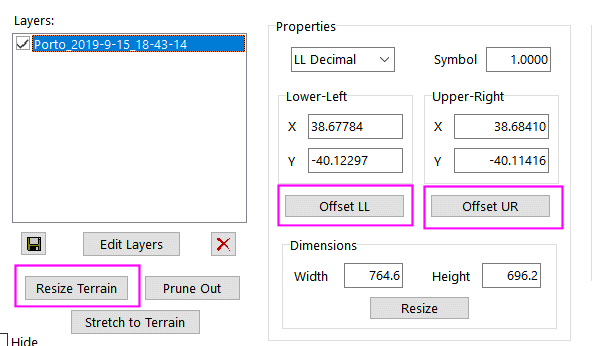
Once imported, select the layer, drop the corner coordinates (lower-left and upper right), then Offset LL and Offset UR corners and do not forget to Resize Terrain so that to see something.
In an ideal world, this would be enough.
But, as VBS is not exporting a map which matches the specified corners (and waiting for a fix is not going to help), we need to fine tune the alignment with a turn around.
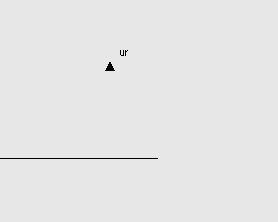
For that, we will go to Feature mode and create two Feature Points at the exact corners coordinates:
Create a point anywhere, name it LL (for Lower Left corner), double-click it and enter the Lat Lon coordinates you gave to VBS for this corner:
Once you have both points located on the map, the SVG layer must be offset (and maybe rescaled) to match these positions.
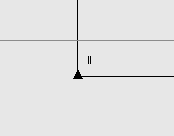
The exported map has normally a black contour line which ends at both corners.
We are going to use that guide for this operation.
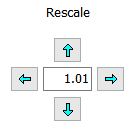
Go back to Terrain mode and bring the rescaling window for SVG layer:
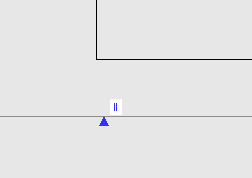
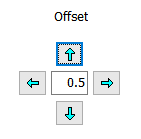
Now zoom at the Lower Corner point and use the offset arrow to put the line on the point (you can change the increment value):
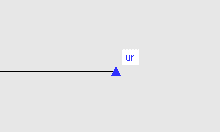
Now go to the Upper Right corner, zoom again, and use the rescaling to put the terrain corner on the point:
Go back to the lower left corner which may have shift a bit during the rescaling, repeat the process until both are aligned.
You are now set.
The SVG is correctly imported.
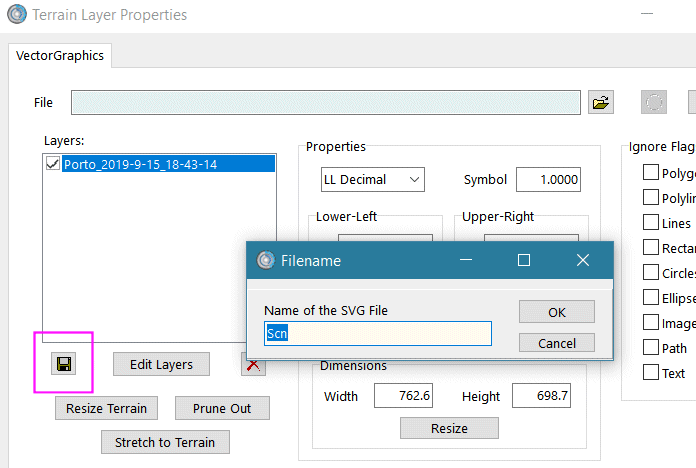
Now save it !
Press OK and the file is now stored under the given name in /Data/Svg