It is possible to create an elevation file made of several layers and use a terrain processor (online queries, OSG or CIGI engine) to provide the height of each plot.
In our example, even if the porto.elev elevation file is available, we are going to build two layers at different locations.
Layers can be separated or on top of each others. It is advisable to start with the widest low level one and finish with the higher definition one on top of the list.
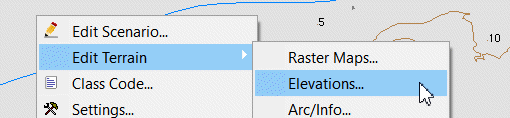
First, open the (right click on the map background):
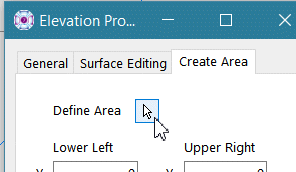
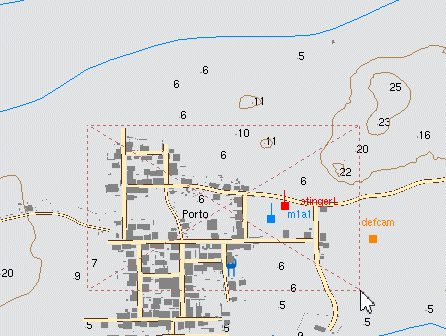
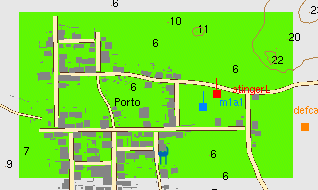
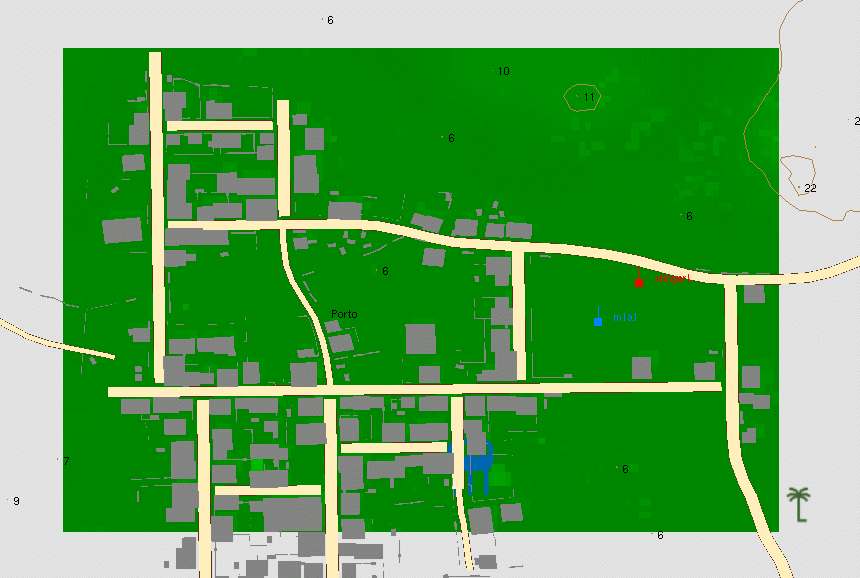
Then select button to draw on the map the elevation layer:
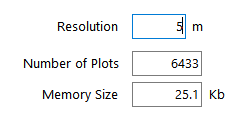
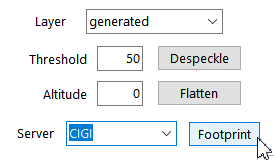
Now, specify the of each plot of the layer, in meters. The lower the resolution, the higher the number of plots and the memory used:
When you are good with the resolution, press .
Now, we must ask the IG to provide the elevation of each plot. For that, vsTASKER is going to use CIGI messages.
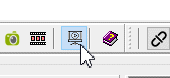
Let's activate the CIGI mode for design:
When connecting is done and entities are sent, select panel, select generated in the list, then CIGI in the list and press :
|
|
A CIGI engine (like VBS-IG but not only) must be running and be ready to receive HoT request messages and respond to host.
|
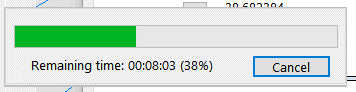
The process may take some times but the good news is that this work will be saved when done.
The higher the number of plots, the longer the process will take. For big databases, you can leave it the night long and get the result on the morning.
When the process is done, zoom on the terrain. You should see something like that:
Now it's time to save the elevation database on the disk.
Select Environment::Terrain::Elevations
You can see on the Elevation property window that there is no file defined but the generated layer listed.
Use the

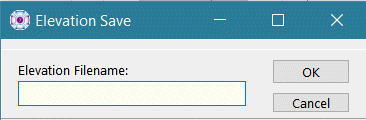
button to save it into a new elevation file.
Enter the name you want for the elevation file (which will be stored by default in Data/Elev directory).
And you're done.
You can now save your database.