In this demo, we will create a speed dial and attach a Component model to it.
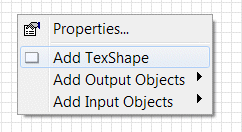
First we create the dial by combining a TexShape and a Rotator:
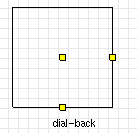
Let's call it: dial_back
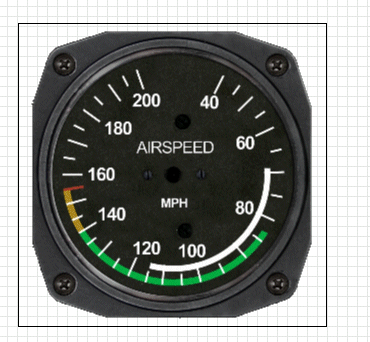
We we load the texture
air_panel. Do not forget to click the

check-box
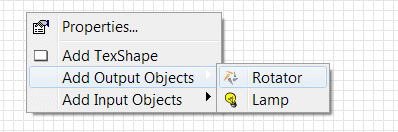
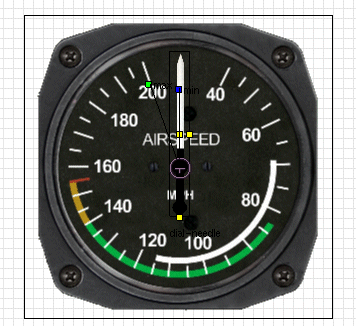
Now, we will overlay the rotating needle. We will add a Rotator Sprite we name dial_needle
Then, we load the
air_needle texture in Visual Aspect (do not forget to check the
box)
We can now move the dial_needle over the dial_back, set the rotation center at the dial_back center and set the minimum angle (blue handle) to 0 and maximum angle (green handle) to 200:
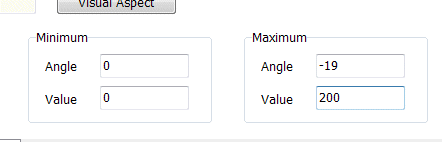
In the property window, we will specify the real values associated with the needle angles (0 -> 0 and -19 -> 200):
-
Making the runtime Component
Now, let's create a Component that will make the needle go from 0 to 200 and back continuously.
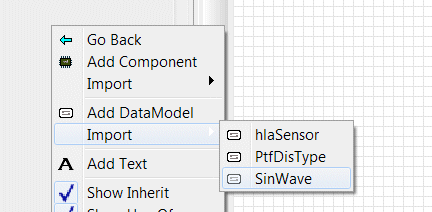
In the Model section, add the SinWave DataModel by importing it from the external list:
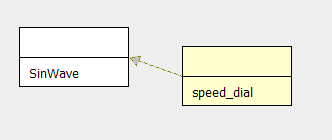
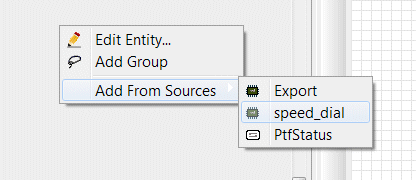
Now, create a new Component named speed_dial that will use SinWave (this is only for correct #include purposes at code generation)
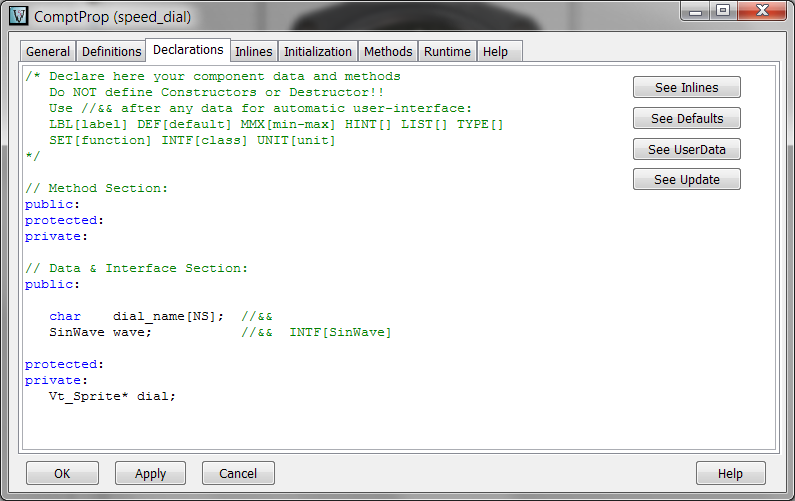
In the speed_dial component Declarations section, let's add the following:
|
char dial_name[NS]; // so that the user can specify which object to rotate
SinWave wave; // to tune the bounds and the speed
Vt_Sprite* dial; // to access the Rotator Sprite in Runtime section
|
In Initialization section, we will just do the following:
|
case RESET: { // at each restart
dial = S:findSprite(dial_name);
wave.reset();
} break;
|
In the Runtime section, we will set the Rotator value with the one given by the SinWave DataModel
|
if (dial) {
dial->set(wave.get());
}
|
Now, we can attach the speed_dial component to the Scenario Player and setup the SinWave parameters:
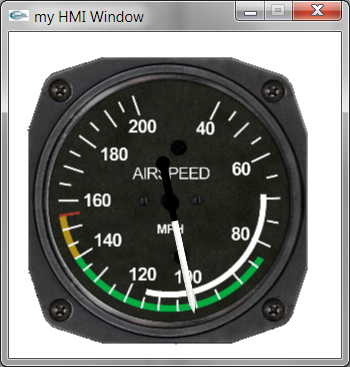
Compile, load and run the simulation.
You should get a Glut Window that shows a Speed Dial moving from 0 to 200 smoothly and continuously (making the RTC running at 60 hz will increase the smoothness)