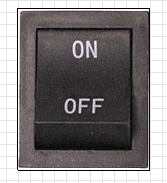
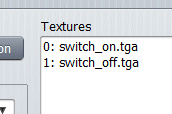
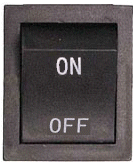
Select Visual Aspect then load the following textures:
\Data\HMI\Electrical\switch_on.gif
\Data\HMI\Electrical\switch_off.gif
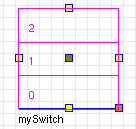
Unckeck AutoSize in order to resize the knob to make it fit into the HMI panel.
We needed 2 textures because we will create a 2 state switch. One texture will be associated with its corresponding state. It is good to remember that the state shall correspond to the area of the texture where the user will be invited to press to activate it.
In the Runtime panel, put the following code:
switch (db->selected) {
case 0: set(1); break;
case 1: set(0); break;
}
db->selected holds the area id selected with the mouse.
In our example, area 1 selects the ON state which is the first loaded texture with id 0. We then use set(0) to activate this texture.