Plug the install dongle and if the installation windows does not appear automatically, open the file explorer and start: vstasker_7..._release.exe
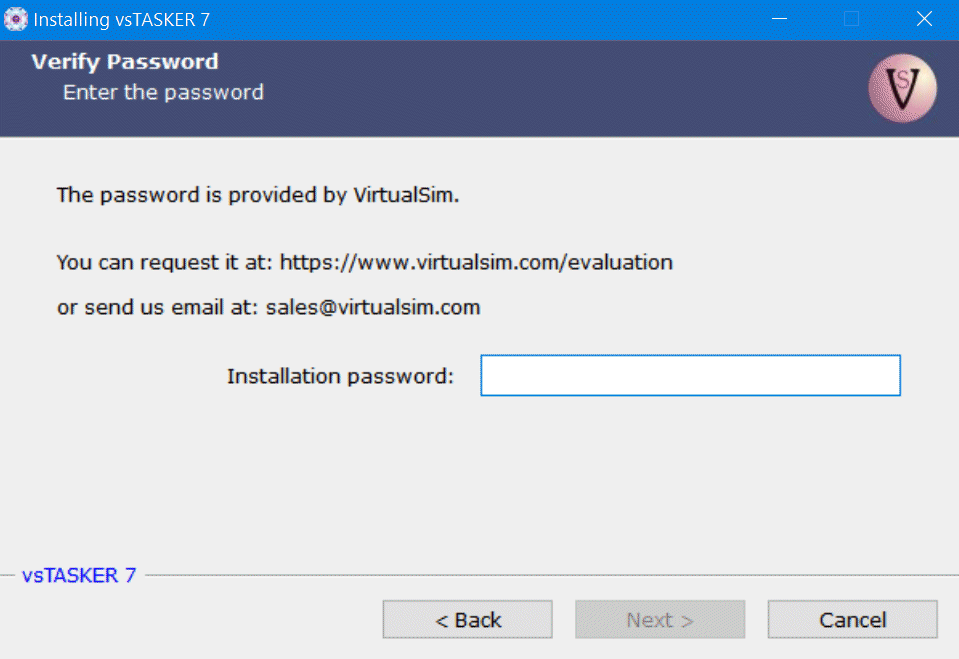
The installation password must have been given to you either by email or is stored in the USB key in the file install_password.txt.
If the password is correct, Next > will be available
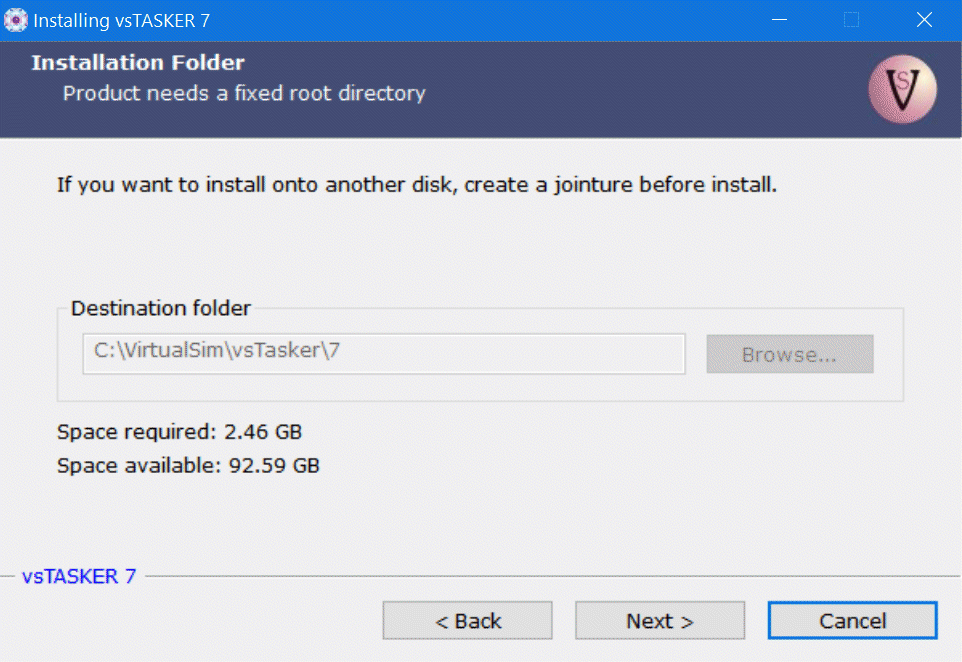
Although the software will be installed in C: drive by default, you can relocate it before or after the install by creating a soft link (see here). This method is recommended when the C: drive is an SSD with limited free space.
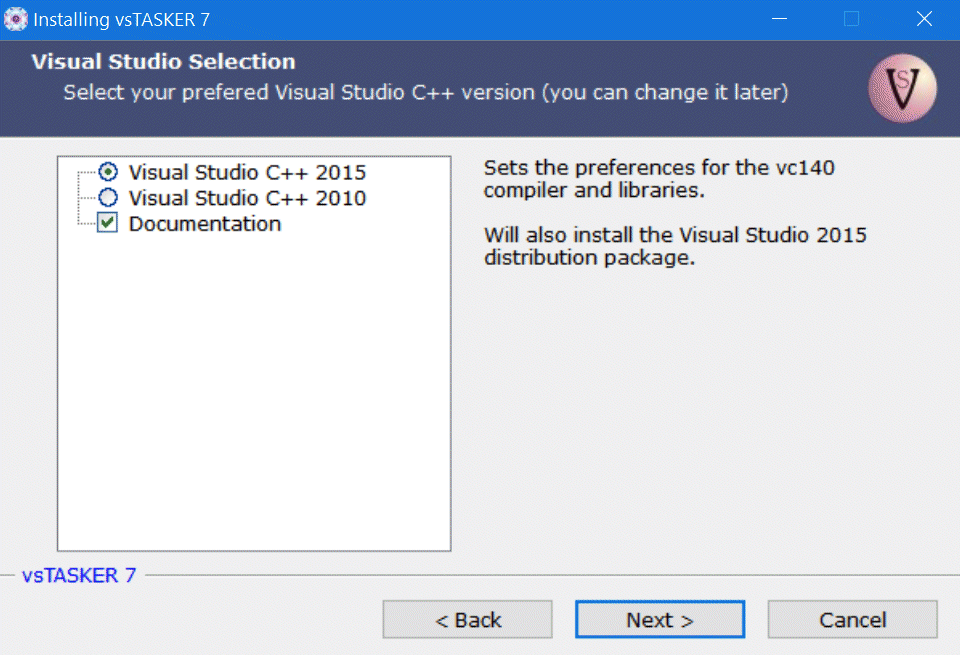
Select which Visual Studio environment you will be using for development. Although all libraries will be installed anyway, this preset will create the correct Path. You can easily change that later.
If you uncheck the Documentation, help files will not be installed (faster and less heavy). You will have the chance to install them at later time (vstasker_7_documentation.exe) or use the one already put in the Dongle.
The installation dongle contains some nice to see videos you can check during the install.