To properly display this page you need a browser with JavaScript support.
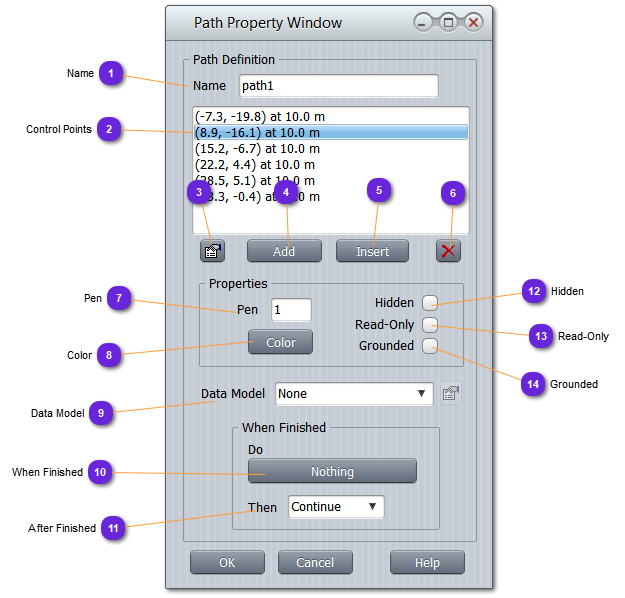
Name Name of the path, unique in the scenario
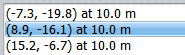
Control Points List of all the control points making the path.
Are displayed in each line: x,y position and proximity value.
Control points define the shape of the Bezier spline.
Properties Call the
property window of the selected control point.
Add Add a new control point at the end of the path. Mouse changes to + .
Click on the map to drop points. Right click and Done to finish edition.
Insert Add new control point after the selected point in the list. Mouse changes to + .
Click on the map to drop points. Right click and Done to finish edition.
Delete Delete the selected control point in the list.
Pen Specify here the thickness of the path when drawn on the map.
Cannot be 0, use Hidden for that.
Color Color used to draw the path on the map.
Data Model If a data model must be associated with the control point (to get extra settings or give specific data to the user code), select it from the drop down list.
To set or change the parameters (interface) of the data model, use the
button.
For example, a path might represent an exit procedure. User can then create a data model named FireEngine with all kind of data some other components or logics might need to process. Using the data model attachment capability, user will be able to specialize any path of his scenario.
When Finished When the last point of the trajectory is reached, if an event must be sent, use it here.
After Finished When an extremity of the path is reached, here is the advised procedure :
Continue : leave the path and keep the same speed and heading.
Stop : Set speed to zero. Same heading.
Loop : Go back to first control point
Inverse : Do a U-turn maneuver to reenter the path from the last point and follow it the other way, then back again when extremity is reached.
Hidden Check this option to hide the path from the scenario map, when Feature layer not selected.
Hidden features are always visible when the Feature layer is selected.
Read-Only Check this option so that the user will not be able to move or reshape the path.
Grounded Check this option so that all waypoints altitude will always match the terrain level below them (clamped ).